
By Farrell Johnson
March 2015 Green Magazine
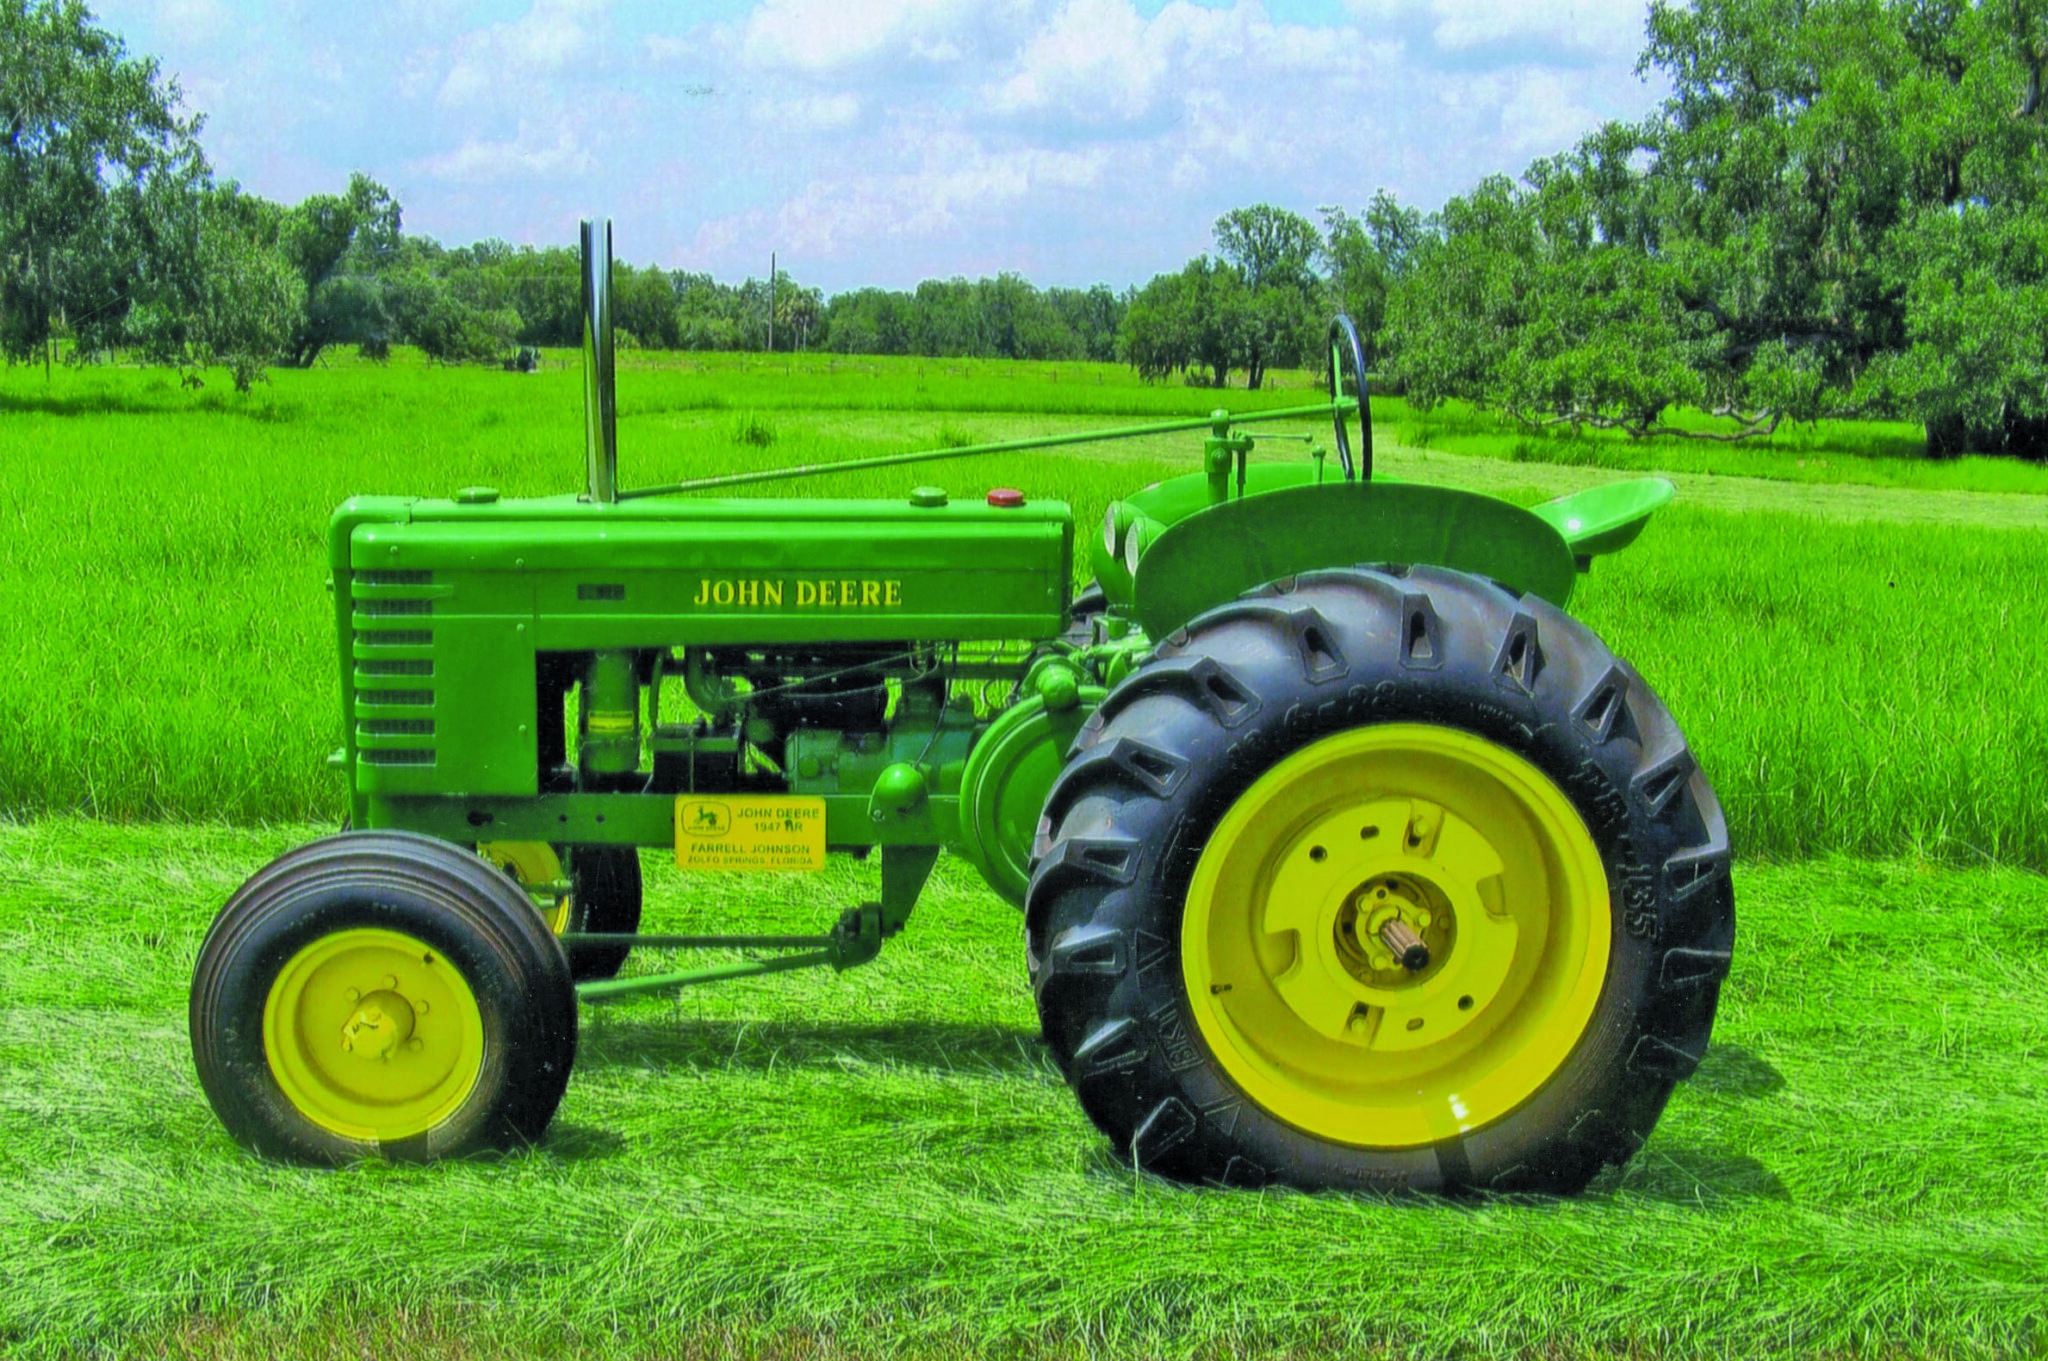
In September 2013, Green Magazine featured an article about “Obie” VanDyk’s “A” standard John Deere tractor. This story caught my attention and inspired me to tell the restoration/modification story of my 1947 John Deere “H” tractor.
In the winter of 1985, I purchased this tractor from a gentleman in New York, sight unseen. It was completely disassembled in a crate—one five-gallon bucket of bolts, one with transmission parts, one with miscellaneous parts and everything else was loose. There were no wheels or tires and the front pedestal broke off at the lower part of the hood.
In the winter of 2007, several of my friends said I needed to either put it together or call the scrap man. You can’t scrap a John Deere tractor and live with yourself! So thus began a very long project.
Since this tractor was completely disassembled, it required total restoration—all new seals, bearings and a new overhaul from bottom to top. Each part was examined and repaired, if needed. Oddly enough, things were in pretty good shape. I installed new pistons, rings, main and rod bearings, along with new valves. I had the head and block magnafluxed to be sure there were no cracks. All transmission gears were good, except second gear, which I replaced with a new one. The radiator was cleaned and checked for leaks. All new fan shaft bearings were installed, as well as the governor bearings.
After assembly of engine and block, frame, radiator and rear axles, painting the parts as I went along, I had a complete tractor except …
The front pedestal was broken off just under the frame and the steering shaft was also broke off and bent. Now, what do you do now that you have the rest of the tractor rebuilt and no front end? I had an old orchard “B” tractor in my scrap pile and it had a standard front axle. YEAH! I built brackets for the axle and the wish bone. Then I mounted the axle on the frame. Little did I know John Deere made the right hand side of the axle 2-3/8 inches longer than the left side. Well, I couldn’t leave it that way, so I cut into it and took out 2-3/8 inches and welded it back together. Now the axle was centered on the front. New bearings and seals and new king pins with bushings put this axle in perfect shape.
Now what about the steering? This required cutting the shaft off above the broken place and I made a flange to bolt the steering arm onto it. The flange was welded to the steering shaft and a steering arm was manufactured. I was able to use the tie rods from the old orchard tractor with new tie rod ends. With all that completed, we now needed wheels and tires. The old orchard tractor front wheels had a very odd bolt pattern; therefore, I had a difficult time finding wheels that would fit it. The new wheels I found took 7.5 by 15 size tires (rib imp.) so that gives the front end the right look for a standard tractor. The rear required purchasing used wheels, which were difficult to find. The ones I got had good centers but rusted out rims. I was in touch with a friend who had some new rims for 13.6 by 280 tires and that allowed me to cut the old centers out and weld the new rims on. Using 13.6 tires with the right center line of axle to ground measurement allowed the tractor to sit level and look like a standard tractor.
Next it was time to do sheet metal work, which is always a challenge. The old hood and grill required many hours of reconstruction and by now, my patience was growing thin. Nevertheless, the finished job looked good and it was time to paint. That’s the good part! After primer and paint, assembly began. How nice it is to paint things so nicely and after assembly, have scratches everywhere. Touch up corrected all of that. Now on to electric wiring and finishing details. Original lights front and rear with all original starter and generator, six volt. New wiring was purchased to match original equipment. Battery cables were pulled inside of new original steel sleeves. All bolts and hardware used in this tractor were John Deere original, cleaned and painted.
When I inspected the magneto, I didn’t like what I saw so off it went to Popinjohn’s for immediate attention. It came back like new and that completes the old saying SPARK + GAS = RUN.
Had one gas leak in the selection valve. Brass to brass + age = leak. After a little rebuilding, the leak was stopped, leaving the ability to use OFF – GAS – FUEL, all three positions, which finished the GAS part of the old saying. Before I finish, I must add one more bit of information! Putting the oil lines inside the engine block with the engine assembled is near on to impossible! Can be done, but not advised.
Nothing sounds better than the sound of a two cylinder engine after total restoration! Especially when it came out of a box—one piece at a time! And thank God for John Deere parts and service manuals; without them, I would not have finished the job. One more bit of irony. When I purchased the tractor and received the boxes, little did I know that not one, but two tractors were disassembled on the same boxes. Figure that one out!
The tractor was finished in the spring of 2008 in time for the Florida Flywheelers show. Thanks to my wife of 57 years for hanging in there with me—even with my busted knuckles and green paint on me.


